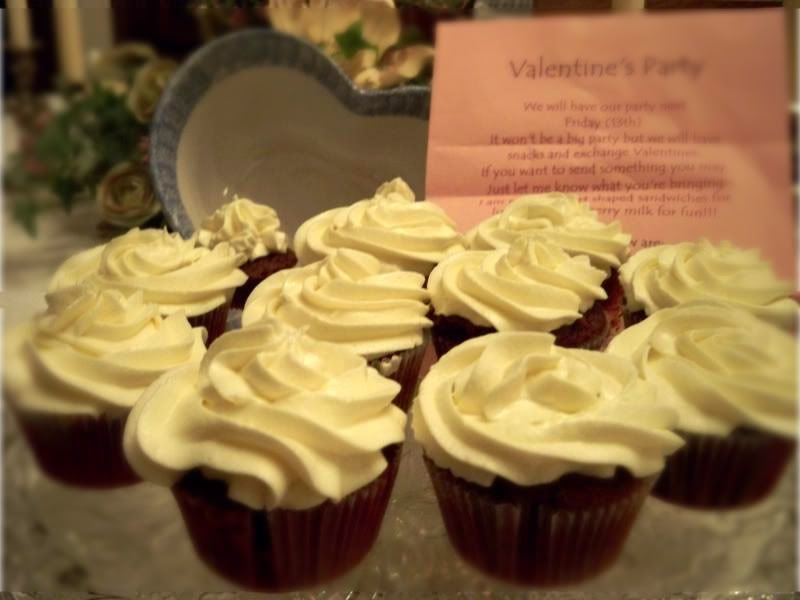
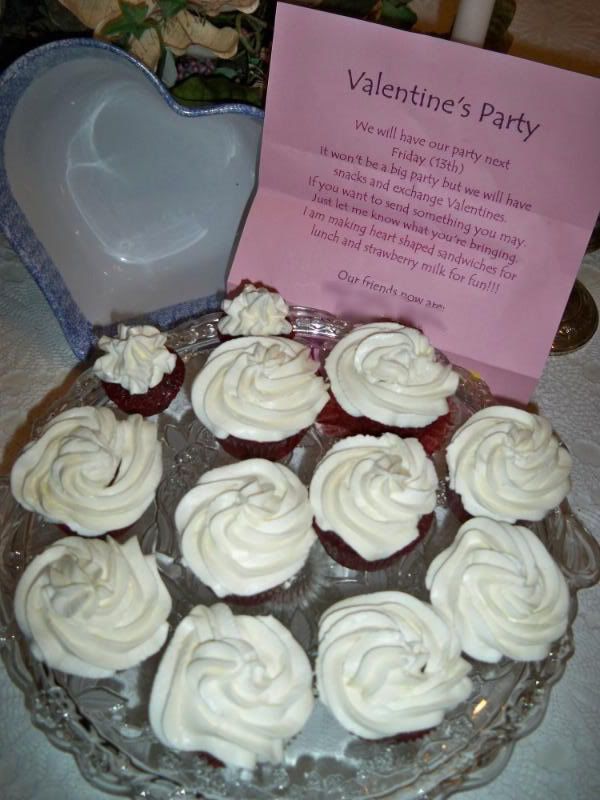
What screams Valentines day dessert more than red velvet cupcakes with extra special rich velvety lovely melt in your mouth cream cheese, mascarpone, whipped cream icing? Yes I just said that and I know your drooling now, and I am remembering these in the fridge as I speak. Tempting me! Seriously this is the best cake and icing I have ever had in my life, no kidding its that good. I am not sure where I got the recipe so if someone knows please speak up and I will be sure to give them all the credit. I found this recipe in my file and wanted to make something for the boys daycare party and I cam across this and immediately knew I had to make it. Now for their party I will probably just top it with a normal butter cream icing, but for us we had the whipped heavenly goodness. This recipe yields lots of cupcakes so beware of your waistlines!
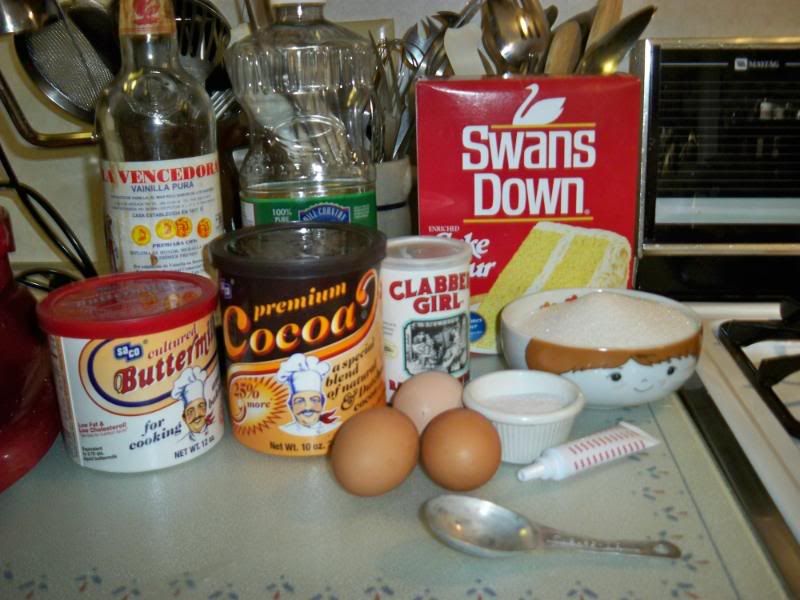
Cupcake Ingredients:3 1/2 cups cake flour, 1/2 cup unsweetened cocoa (not Dutch process), 1 1/2 teaspoons salt, 2 cups canola oil, 2 1/4 cups granulated sugar, 3 large eggs, 6 tablespoons (3 ounces) red food coloring, 1 1/2 teaspoons vanilla, 1 1/4 cup buttermilk, 2 teaspoons baking soda, 2 1/2 teaspoons white vinegar
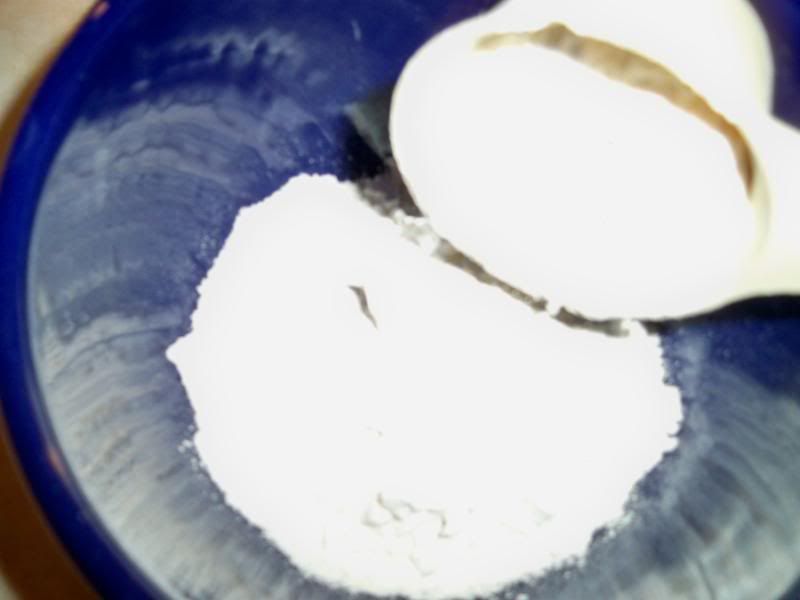
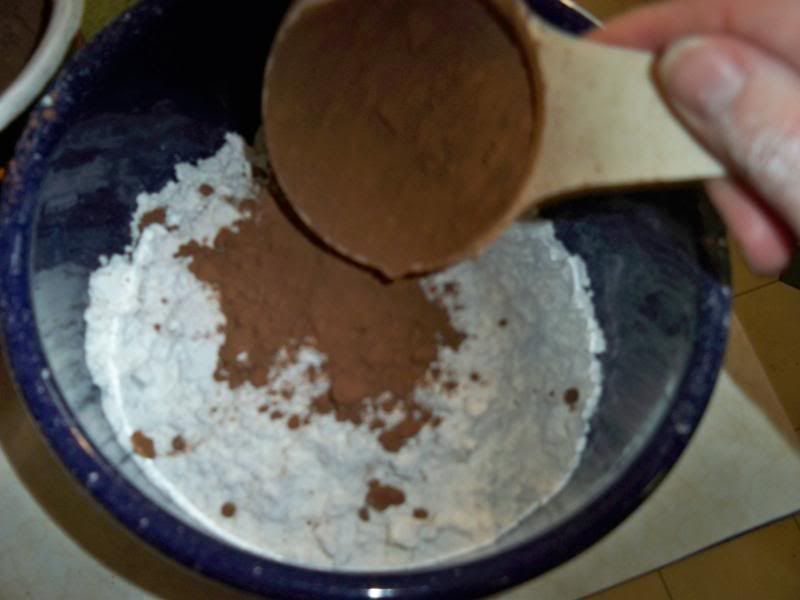
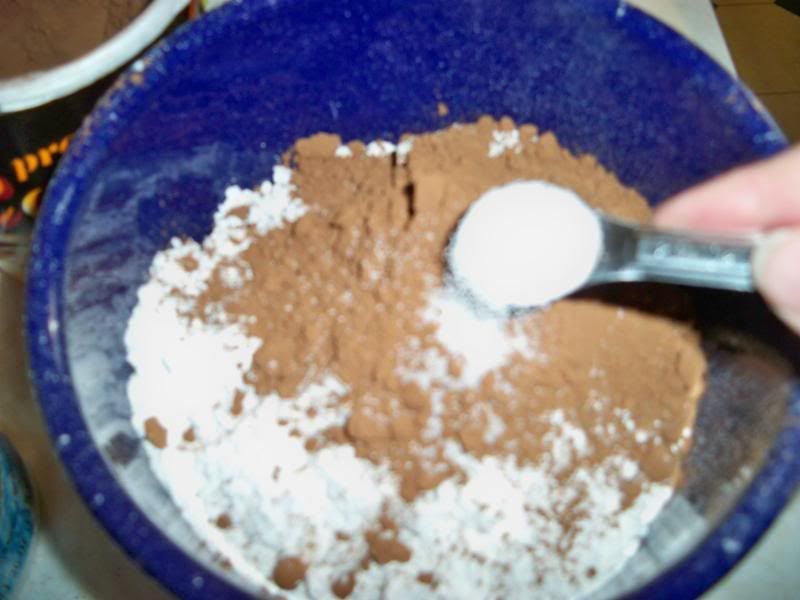
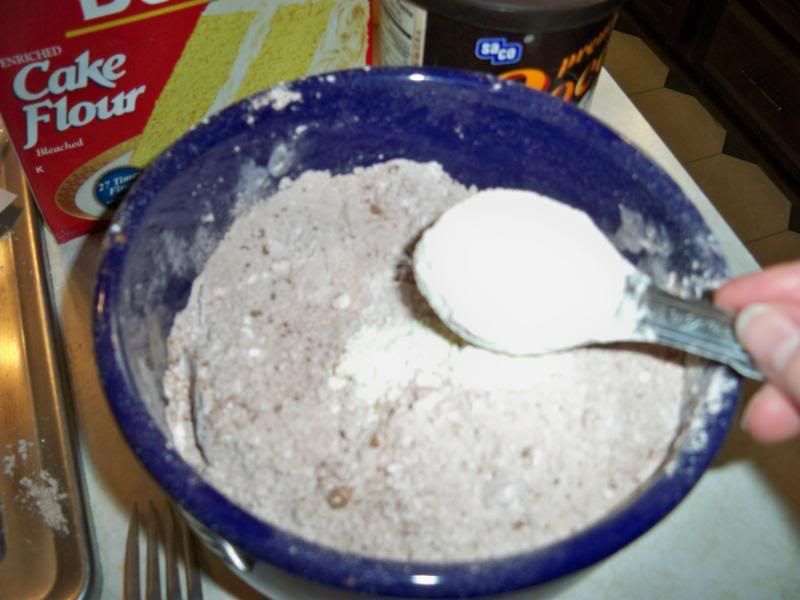
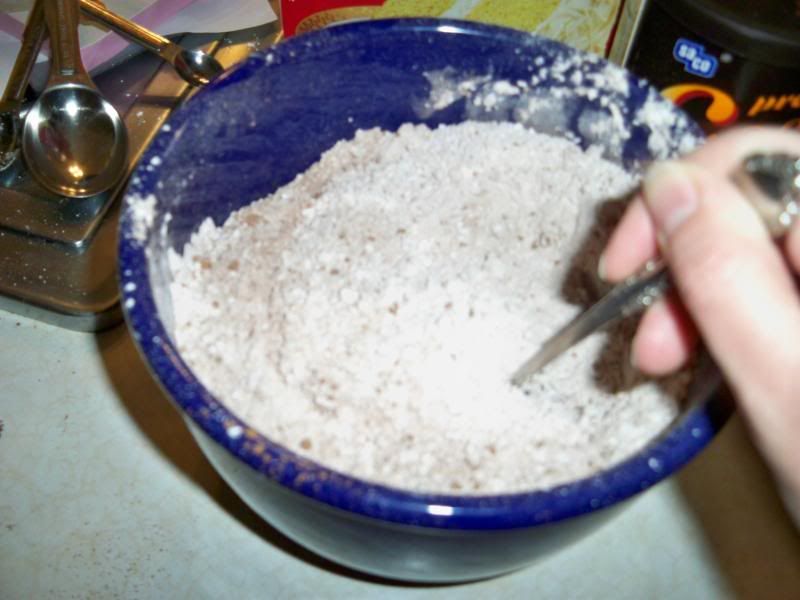
In a separate bowl mix flour, cocoa, salt and buttermilk (if using the powder)
Mix well
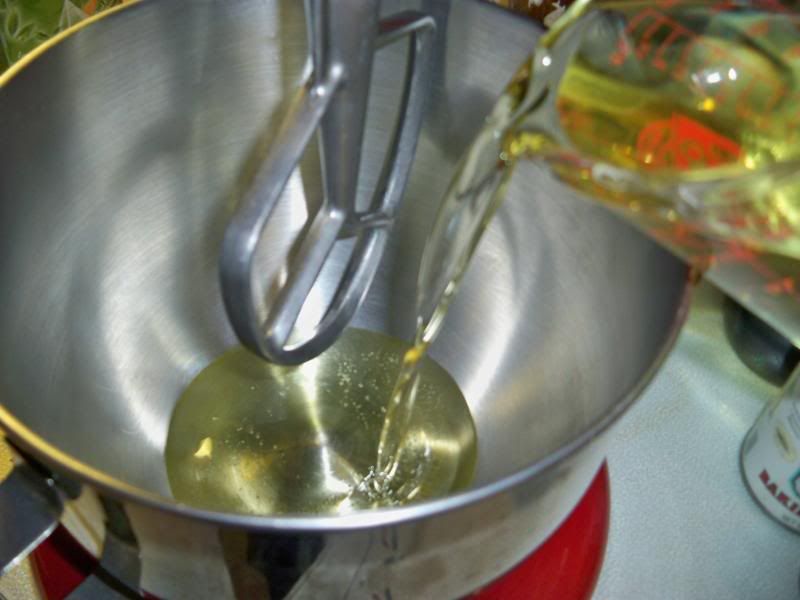
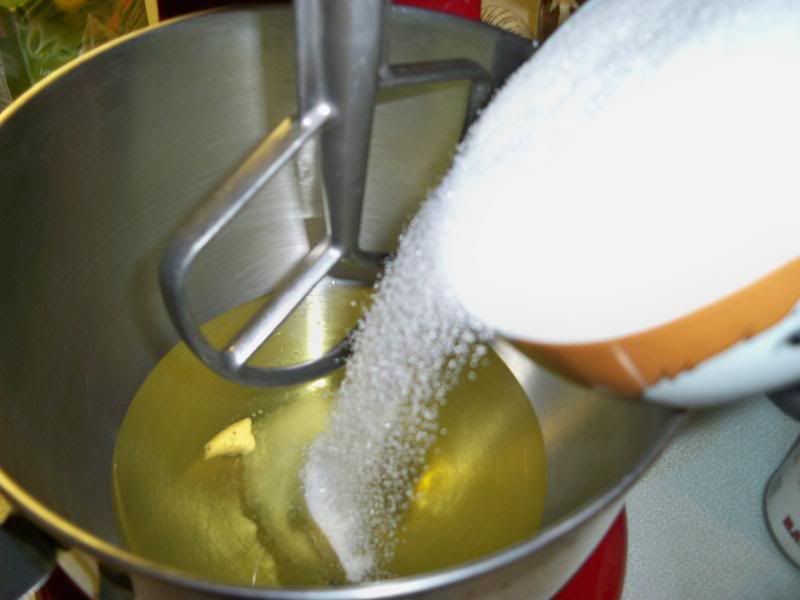
In the stand mixer add oil and sugar and mix till well combined
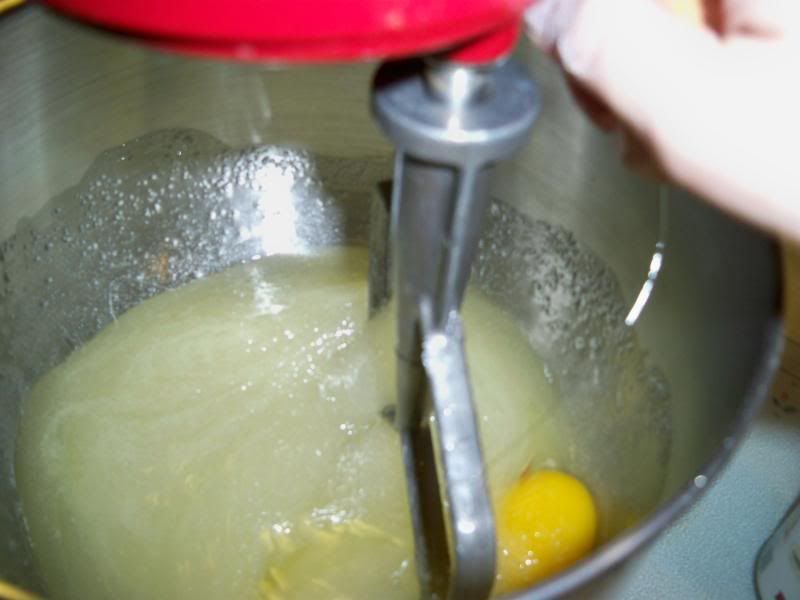
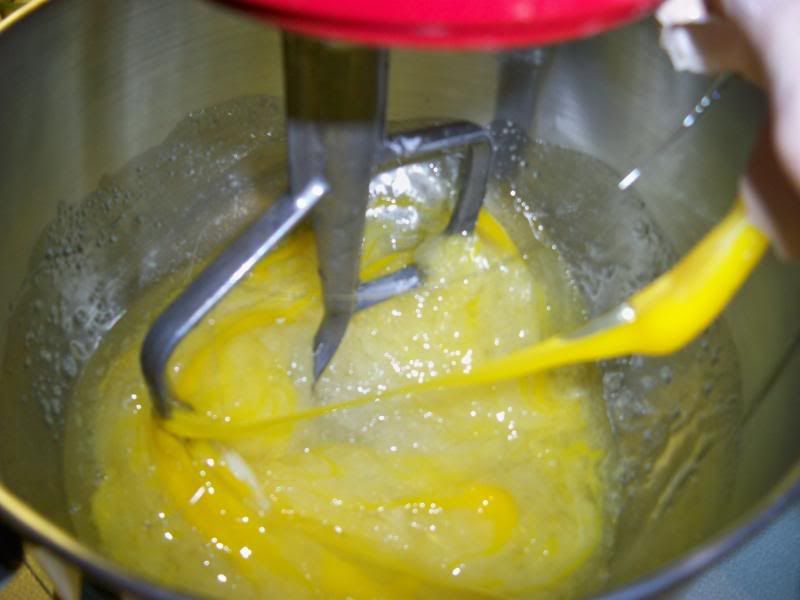
Then slowly add 3 eggs
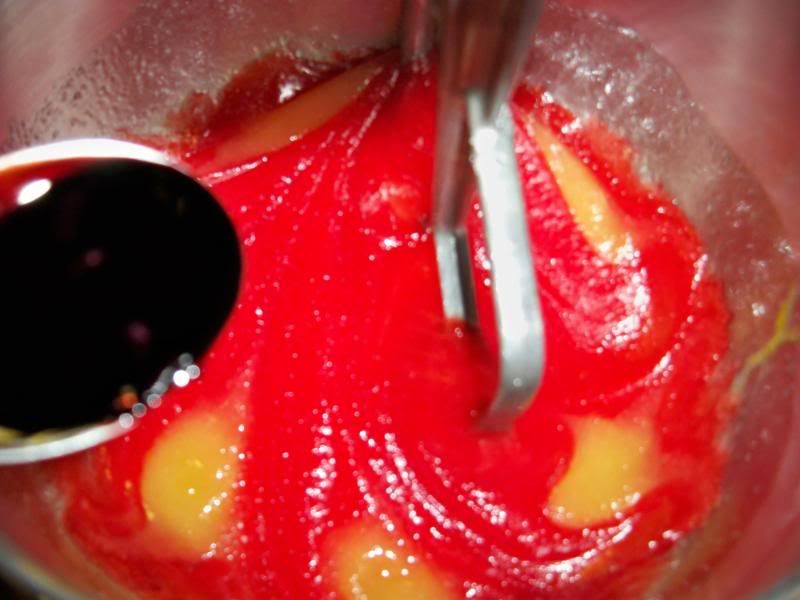
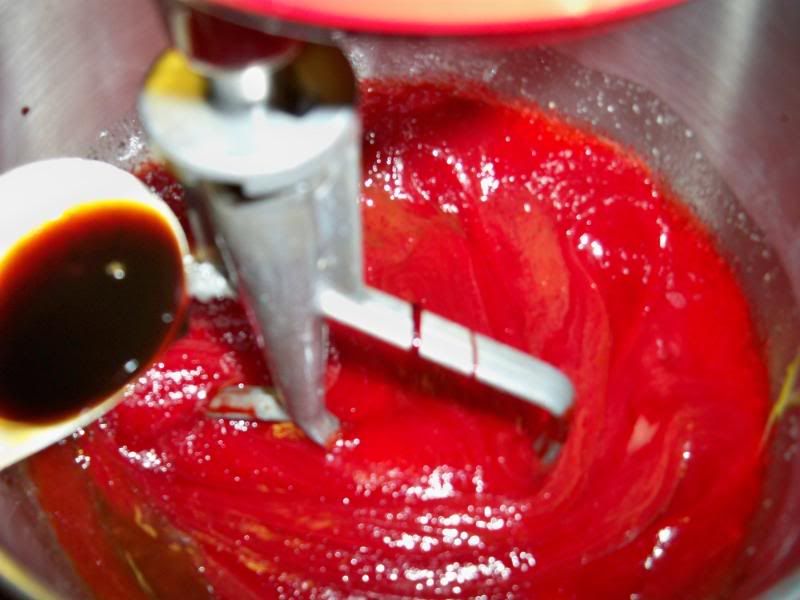
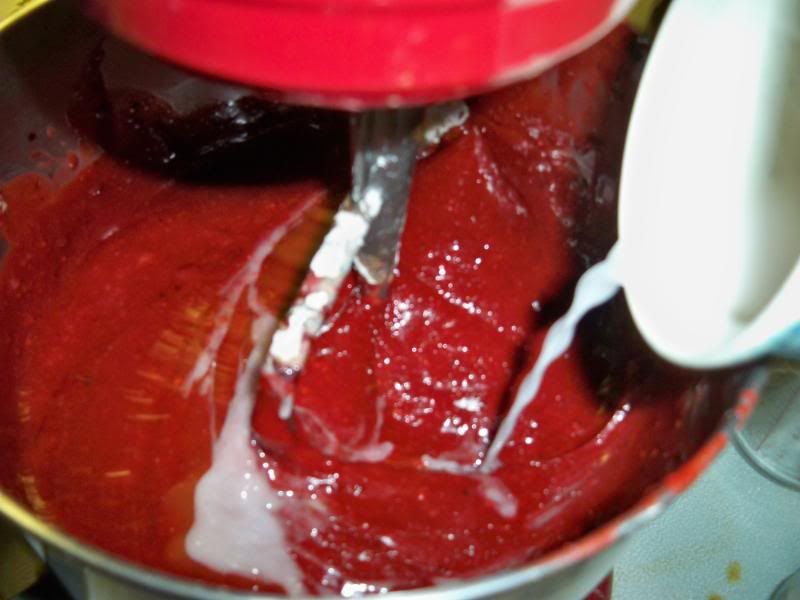
While beater is on low add your red food coloring and vanilla
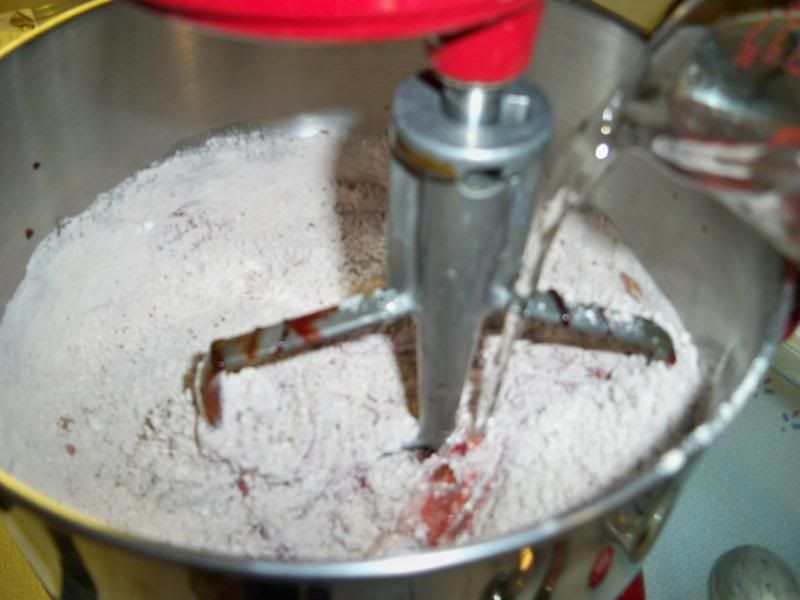
Then in batches add flour and water (or buttermilk if using liquid) till fully combined
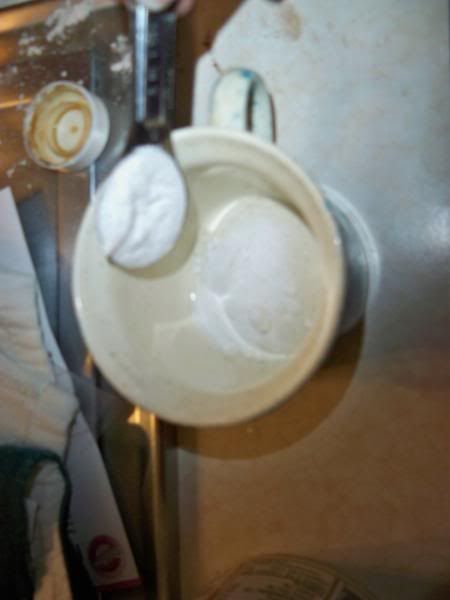
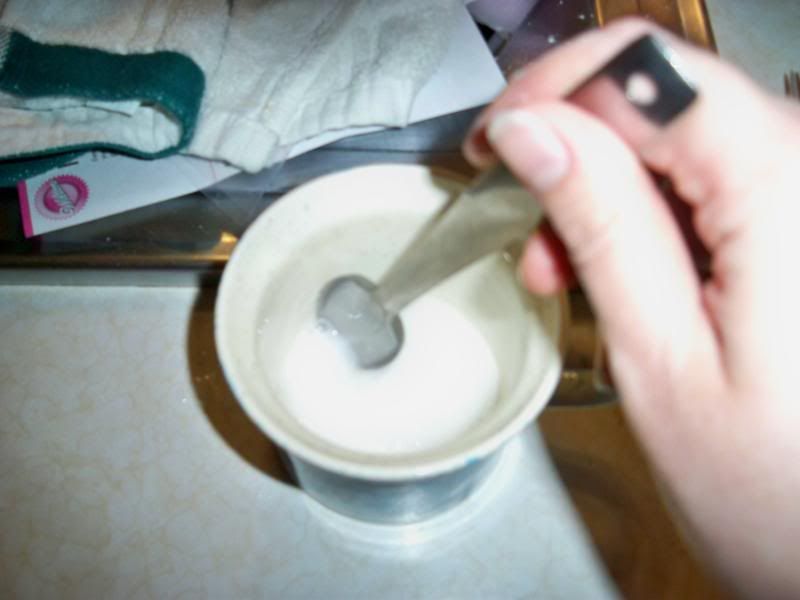
Then in a separate dish add your baking soda and vinegar stir till combined and add to your cake mix
turn on beater for about 10-15 seconds
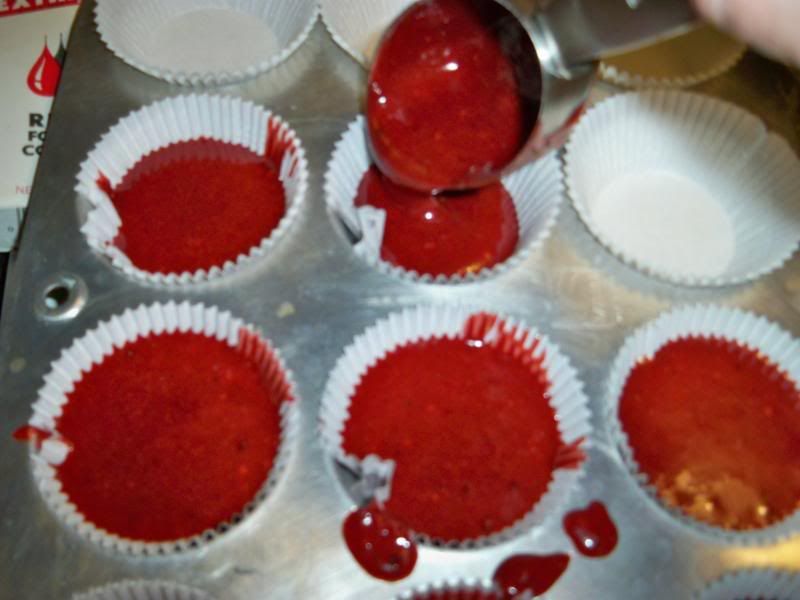
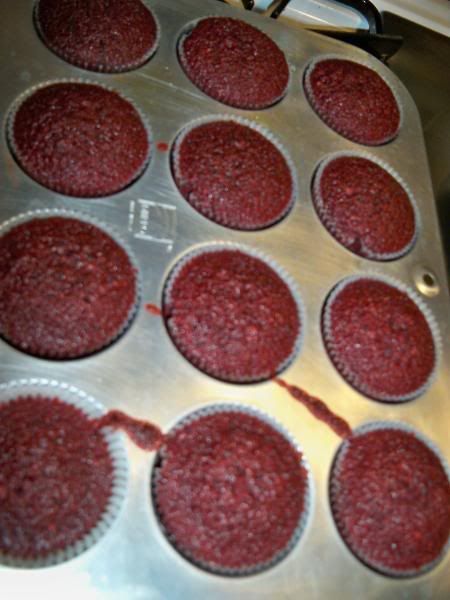
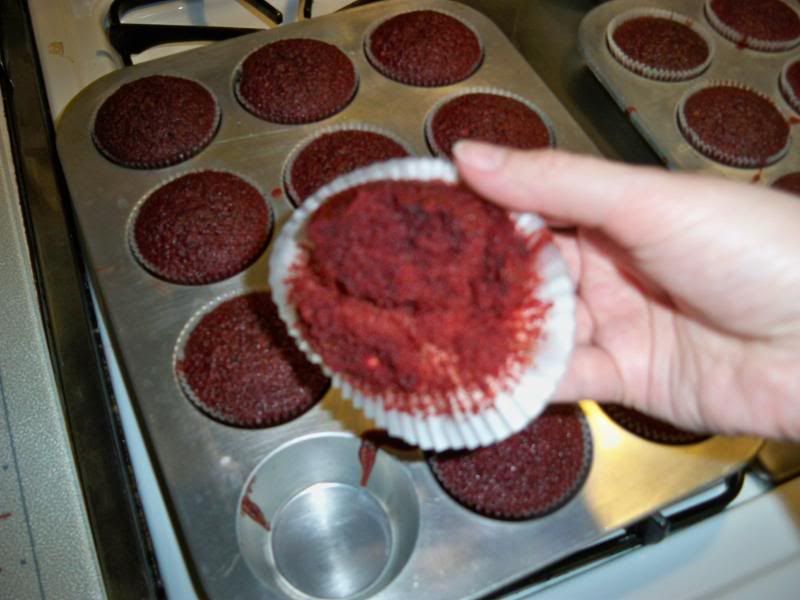
Then pour into cupcake liners and bake @ 350 for 20 minutes until toothpick comes out clean
be sure to sample while its warm- quality control!
While they are cooling go ahead and start on your frosting
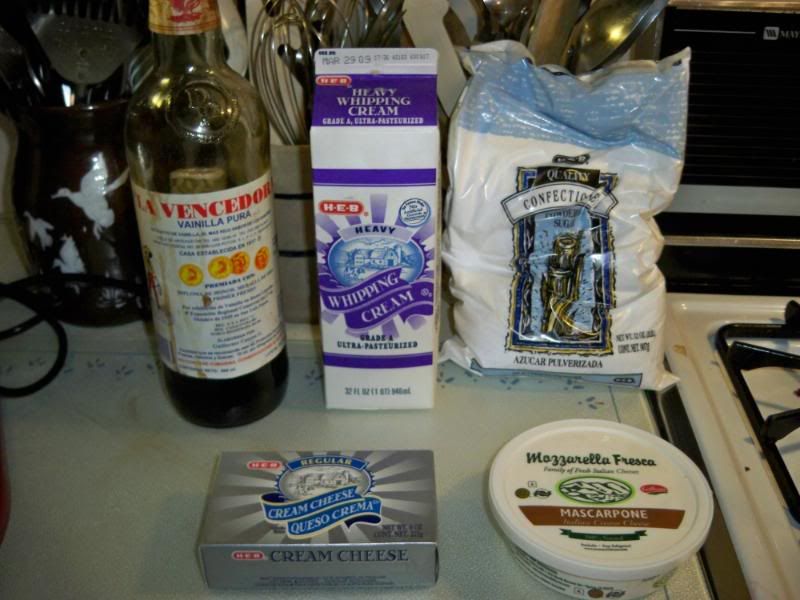
Frosting Ingredients: 2 cups heavy cream, cold, 24 ounces cream cheese, at room temperature (or 12 ounces cream cheese and
12 ounces mascarpone cheese), 1/2 teaspoon vanilla, 1 1/2 cups confectioners’ sugar, sifted
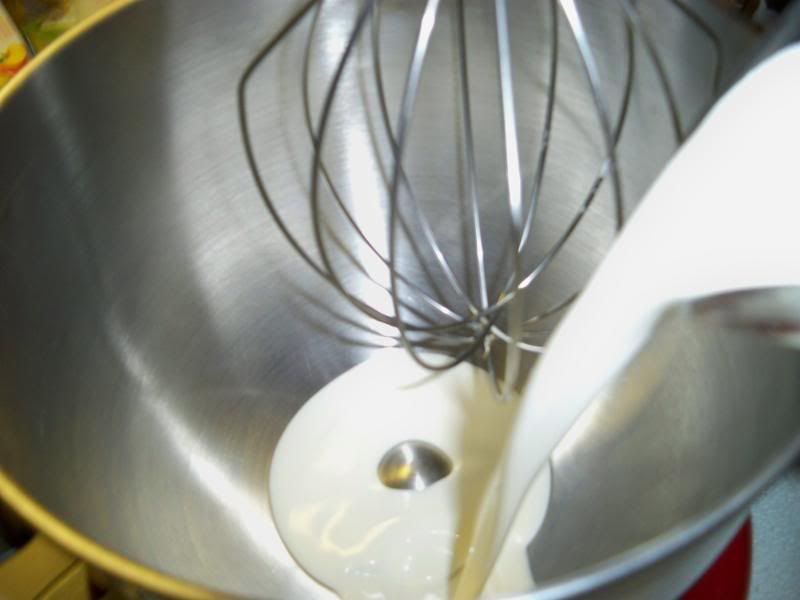
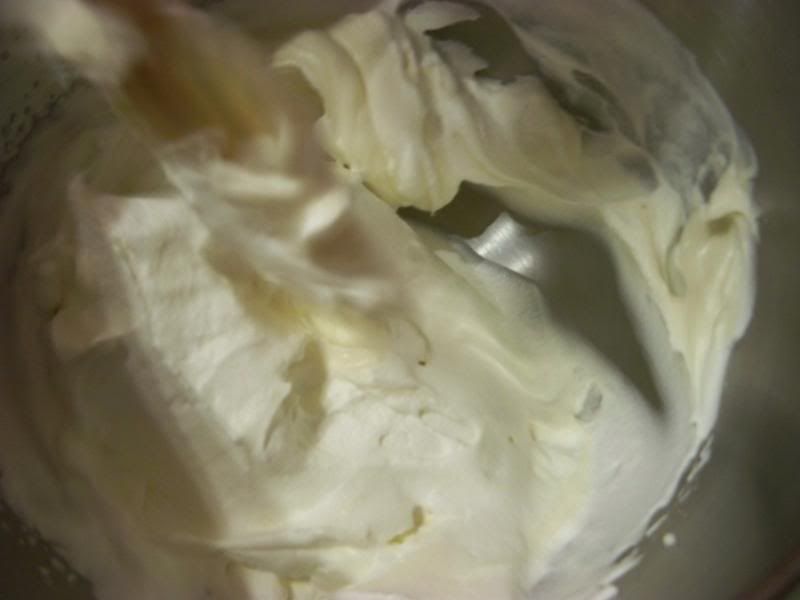
Pour whipping cream in to mixer and whip on high till soft peaks are formed then place in refrigerator to cool
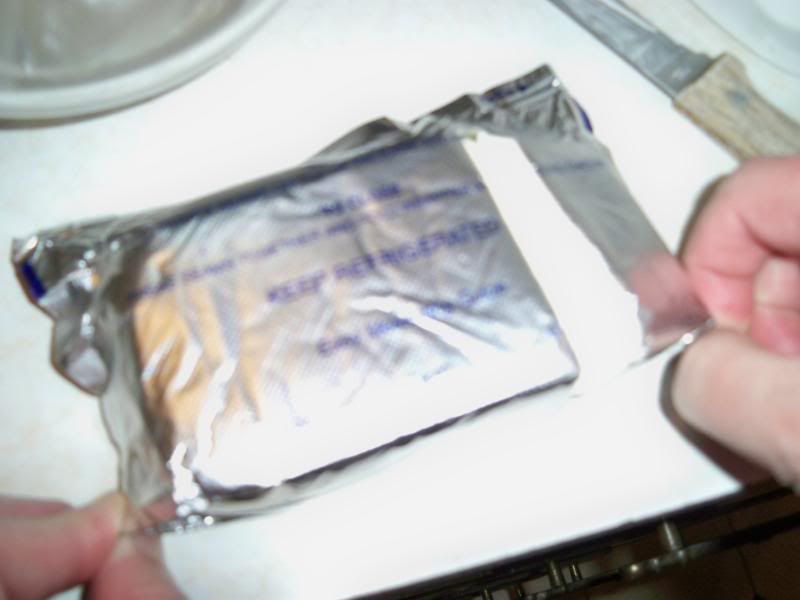
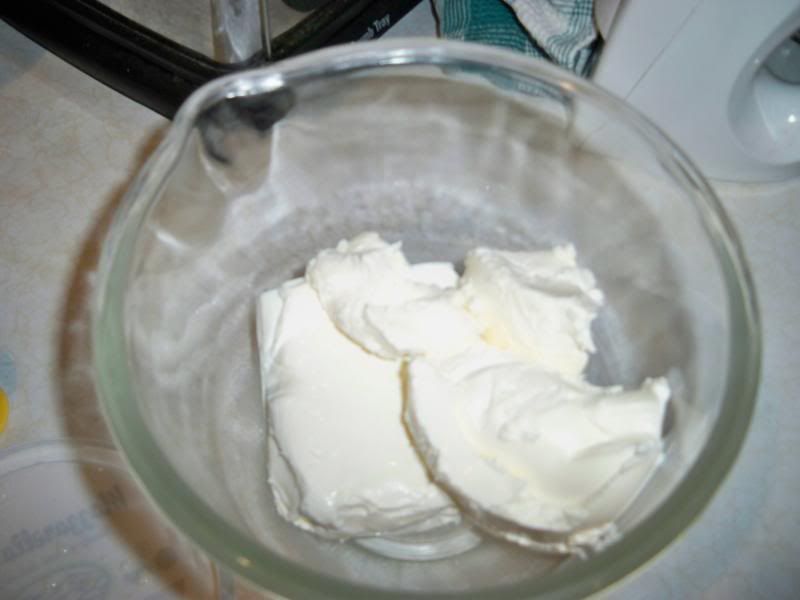
While cooling blend cream cheese and marcapone cheese
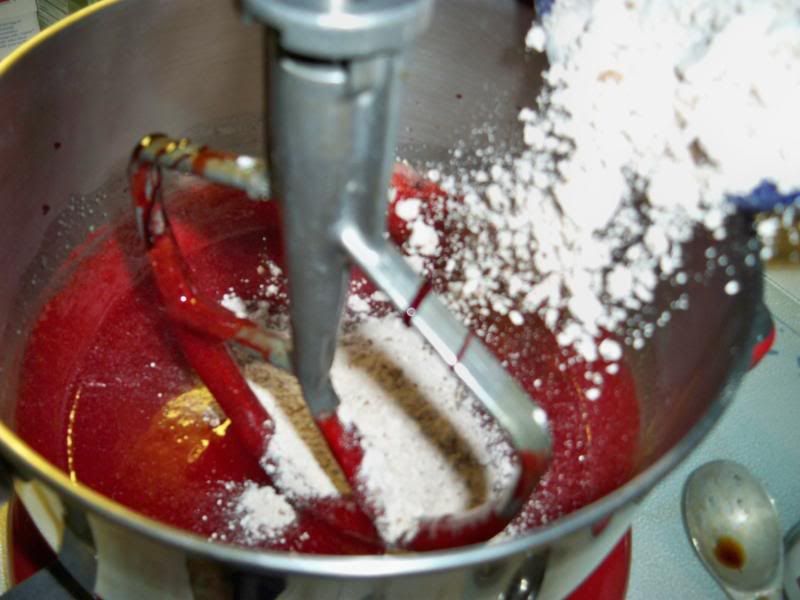
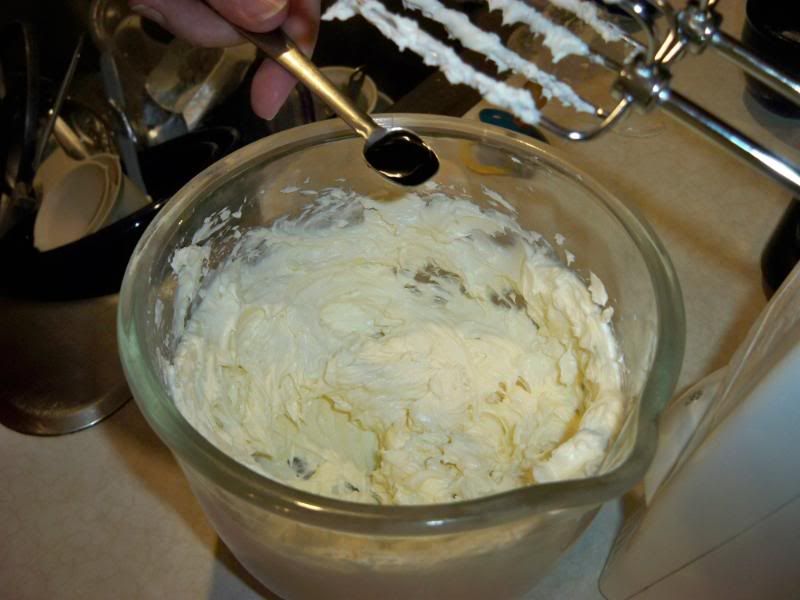
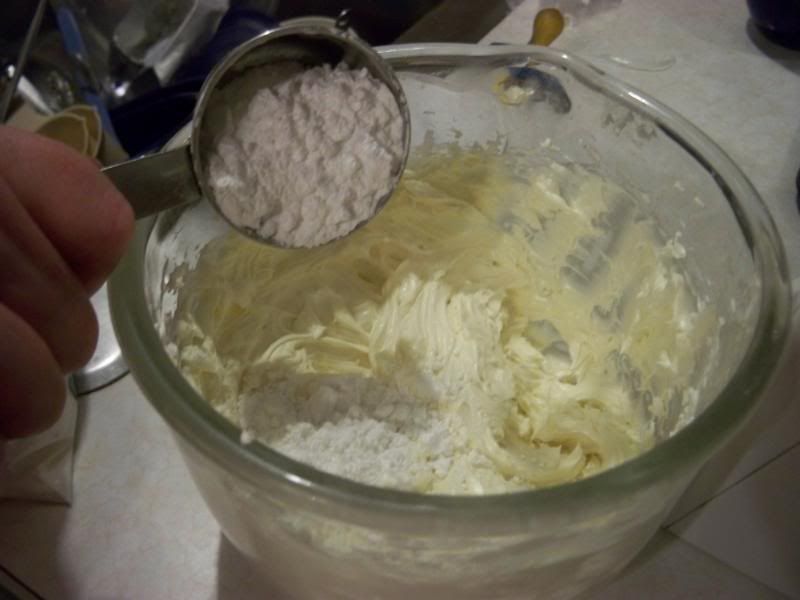
Add vanilla and confectioners sugar, blend well
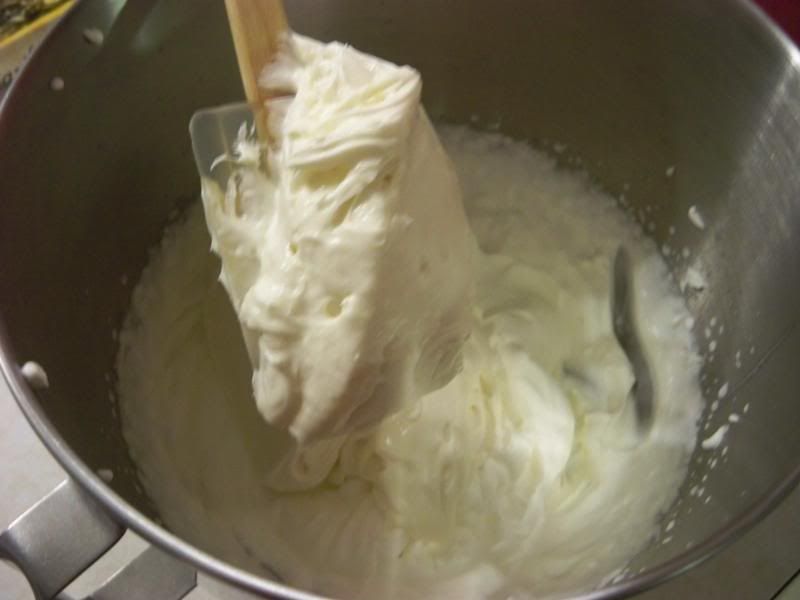
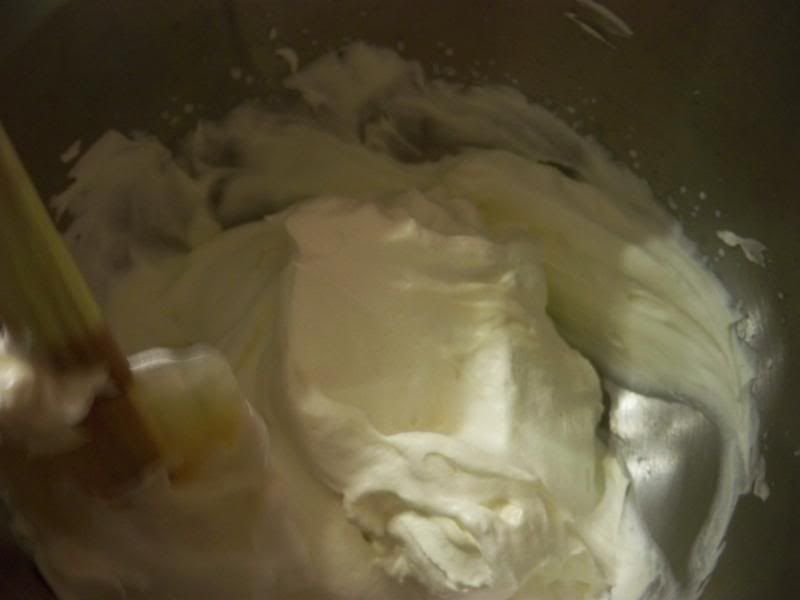
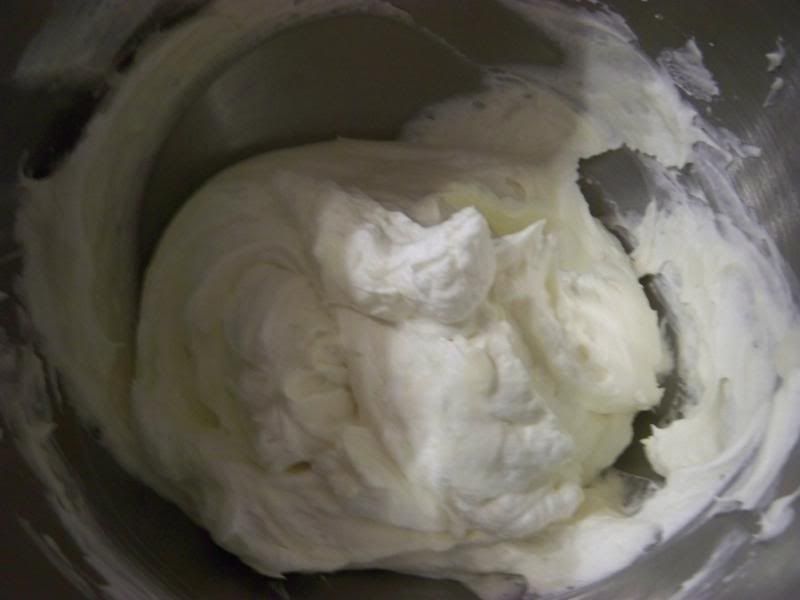
Then slowly fold the cream cheese into the whipping cream
Enjoy a whole lot!
Print This RecipeRed Velvet Cupcakes
Cupcakes:
3 1/2 cups cake flour
1/2 cup unsweetened cocoa (not Dutch process)
1 1/2 teaspoons salt
2 cups canola oil
2 1/4 cups granulated sugar
3 large eggs
6 tablespoons (3 ounces) red food coloring
1 1/2 teaspoons vanilla
1 1/4 cup buttermilk
2 teaspoons baking soda
2 1/2 teaspoons white vinegar
Frosting:
2 cups heavy cream, cold
24 ounces cream cheese, at room temperature (or 12 ounces cream cheese and
12 ounces mascarpone cheese)
1/2 teaspoon vanilla
1 1/2 cups confectioners’ sugar, siftedPreheat oven to 350 F. Place paper cupcake liners into two or three 12-count muffin pans. This recipe will make 24 large cupcakes or 36 smaller cupcakes, or loads of mini-cupcakes.
In a medium bowl, combine cake flour, cocoa and salt. Whisk to mix thoroughly. In the bowl of an electric mixer combine oi l and sugar. Beat at medium speed until well-blended. Beat in eggs one at a time. With machine on low add red food coloring slowly, without splashing. Add vanilla. Add flour mixture alternately with buttermilk in two batches. Scrape down bowl and beat just long enough to combine.
In a small dish, place the baking soda, stir in vinegar and add to batter with machine running. Beat for 10 seconds. Divide batter among cupcake compartments, filling about 2/3 full. Place in oven and bake until a cake tester comes out clean, 20 to 25 minutes. Let cool in pans 20 minutes. Then remove from pans. Let cool completely before frosting.
Yield: 24-36 cupcakes depending on the size of pans.
This recipe will also yield three 9-inch layers if you want to make a cake instead. Make sure you butter the cake pans well, then line the bottoms with parchment paper. Bake longer (40-45 minutes) when making a layer cake.
Frosting:
Place cream in bowl and whip cream until soft peaks form. Cover in bowl and refrigerate. Blend cream cheese (and mascarpone if desired) with electric mixer until smooth. Add vanilla and confectioners’ sugar. Blend well. Transfer cream cheese mixture to a larger bowl. Fold in whipped cream. Pile high on cupcakes with a knife or through a pastry bag. Yield: Icing for 36 small, 24 large cupcakes or the tops and sides of a three-layer cake.
I am happy to list this post @



These look awesome! And I love your step-by-step tutorial.
A little trick I learned about cleaning up from baking: wipe up little drips on the pan before it goes into the oven and it takes a whole lot less effort to get the pan clean afterward.
Spraying the pan with Pam for baking does a nice job for that as well.
OMGosh!! Those look amazing!! I’ve copied the recipe…guess what I’m going to make this week. tfs
Debi
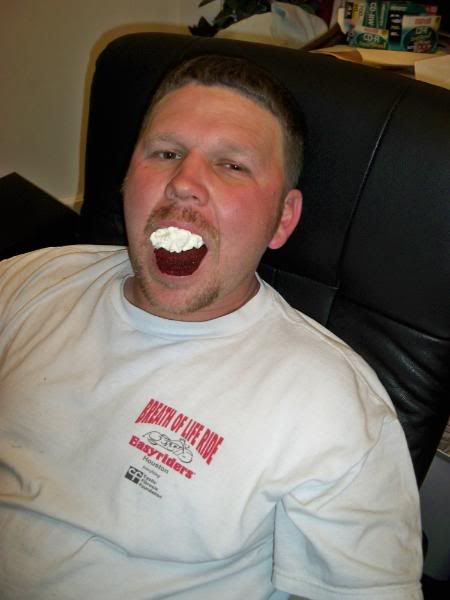
Great tutorial! I’ll have to bookmark it. I’ve been looking for something yummy to make my son’s teachers for V-Day. This might just be it! Oh, and I love the thumbs up pic! 🙂
A nice recipe for this week for sure (and nice blog 🙂
They look fantastic and I thought the frosting sounded amazing! Being from the South, having a Red Velvet recipe is a must! Thanks so much for bringing yours to Tasty Tuesday this week! The tutorial was awesome!
-Kim
I am definitely going to try these! Thanks for posting!
Oh! These look yummy!
I’ve always wanted to try red velvet cake, I just can’t get past all the red dye.
Ooooh! I love red velvet cake! I’m actually making some red velvet cake balls for Valentine’s day. 😀
I’m drolling. And I’m supposed to be dieting. but I’m drooling. YUM!
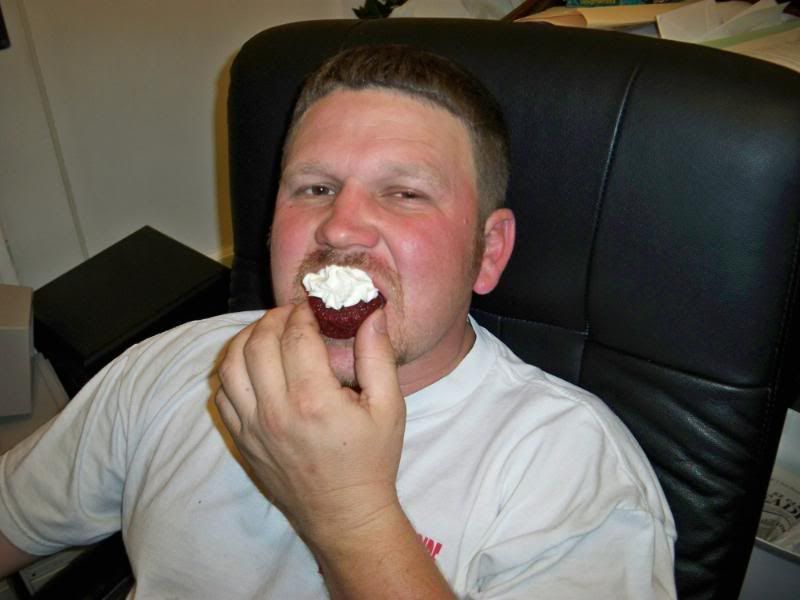
I just can’t express how much I WANT ONE OF THOSE CUPCAKES RIGHT NOW!!!!! They really do look great. I was coveting the cupcake in you hubby’s hand!! Thanks for sharing and have a great week.
Ooooh, those look yummy! Red Velvet is my favorite!
May I please just eat the bowl of frosting with a spoon? It has a lot of calcium. I think it’s probably good for me.
I made red-velvet cake once. My kid dumped the red food coloring on the floor, and I never did get it off.
Oh my goodness – how did you know that red velvet cake with cream cheese frosting is my favorite? It’s right up there with carrot cake. mmmm……
Those are just too pretty!
What a yummy tackle!!
Chicky Mama- Thanks for the tips, I usually do this also but completely forgot, blonde moment, lol!
Dreamer- you could make the recipe sans the red food coloring, then it would just be chocolate cupcakes, but still sooooo good!
Mindee- yes lots of calcium, I like your way of thinking!
The Mother- I spilled some of the floor also and noticed that vinegar takes it up with no stains!
Yum.,……
I love red velvet cake! We have a family recipe that goes back a couple of generations that we always make for b-day cake. And wouldn’t you know…I married a guy who doesn’t like red velvet cake. Otherwise, those pics would have totally inspired me to make those cupcakes. I just don’t need a whole pan to myself. Can you mail me one? 😉
Thanks for stopping by…those look amazing! I love red velvet! Feel free to use my ideas in your post…I’m flattered! Your blog is really fun, I’ll definitely be back.
These look amazing. I love that they have mascarpone!!!!
YUM! my favorite type of cupcakes. that frosting sounds amazing!
My sister-in-law is a huge fan of red velvet. Might have to surprise her with these sometime. Thank you!
Red Velvet is one of my favorites! These look awesome. Happy Valentines Day.
Oh, you’re killin’ me here. Those look SO yummy. Pass one over to me, wouldja? -Julia 🙂
Yum!! Love the red, love the step-by-step instructions, and I LOVE mascarpone cheese! Thanks for participating in Food on Fridays.
A friend made those for me for my birthday… they were HEAVEN!
Well done! You show everything so clearly! Even the enjoyment of eating them!
Mmmm, thanks for sharing such a yummy recipe! Have a wonderful Valentine’s Day weekend!
After seeing those red velvet cupcakes with the “to die for” frosting that’s all I could think about. So Wednesday evening I could not take it any longer and I made regular and mini red velvet cupcakes with the “to die for” frosting. I took the minis to school and everyone loved them. I froze the regular cupcakes and we are going to frost and decorate them today for Valentine’s Day. My mother use to make a cooked flour frosting that she put on her red velvet cakes which I just love, but this frosting with the mascarpone is a keeper. Your directions say to whip by hand but your picture shows using a mixer. Wish I would have noticed that Wednesday night. I had to get your uncle to help me whisk it till the soft peaks formed my arm was getting tired.
Mmmmm! I made red velvet cupcakes for the first time for a VDay housewarming party…I used a recipe from a magazine, an ad for McCormick vanilla, and was a little underwhelmed. Yours seems to have a longer ingredient list, a few things that would make them more moist; I’ll give it a try next year. Thanks!
One word to describe this: YUM.
🙂
Happy day,
Melissa
YUMMMMMM!!! I wish I had some of these already made up to eat right now! 🙂
Thanks for participating in my Favorite Ingredients Friday- Mardi Gras edition recipe exchange. I do appreciate it.
I hope you’ll join me again this Friday for my Mexican edition!
Hi! I host a weekly blog hop — It’s a Keeper Thursdays. I’d love for you to stop by and link up!
Thanks!
Christina @ It’s a Keeper
http://www.everydaytastes.com/
http://twitter.com/itsakeeperblog
http://www.facebook.com/ItsAKeeper